Sunday, November 20, 2011

Messy Mache Bowl


My 2 year old loved this project. Plenty of opportunities to get messy and indulge the senses!


Paper Mache Recipe

  • 2 cups water
  • 2 cups flour
  • 1/2 cup PVA glue

Whisk ingredients together. Use immediately.

  • Newspaper
  • balloon
  • tissue paper
Tear newspaper into strips. Blow up balloon. Dip strips of newspaper into glue mixture and layer over top half of balloon, the size and depth that you would like your bowl. Create a neat edge using straight edges of newspaper around the outside. Put a layer of tissue paper over to finish and then leave to dry for a day. Then paint.


Friday, November 18, 2011

A Photo...

Why is barbed wire, rust, decayed wood, peeling paint and old bricks so aesthetically pleasing to me? hehehe. 

Tuesday, November 15, 2011

Poppy's Sketch Collection and Exhibition


 So remember that art folio I made? (for myself). I did a couple of water colour sketches and let my four year old daughter have a muck around as well. 'Mucking around' is what I was doing compared to the sketches and drawings SHE came up with! She filled my whole book. So here is an exhibition of some of her work, we stuck up on the walls in her bedroom.

'A Colour Man'
Pen and watercolour 
 'A Funny Angry Man'
Pen and watercolour
(I love this one- it looks like a sugar skull / R2D2)

 'Angus and Mum'
Pen and watercolour
(a sight drawing of me and Angus whilst breastfeeding haha!)


And it looks like there are more to come. I might just have to make her her own folio.

Monday, November 7, 2011

Crocheted Love is Forever

This blankie is older than I am.


When our son was born, Charlie's mum gave us the blanket his Grandmother crocheted for him as a baby. That makes this blanket more than thirty years old. It is still as beautiful as ever if not more with all the love that it has received over the years and all the cold nights it kept my husband warm and for the many more to come where my son will lie cosy inside its soft folds. So from Nanna Green, whom never got the chance to meet our baby boy, her love is still felt and she lives on.

Here is a free tutorial to crochet this exact pattern.
http://www.knitting-n-crochet.com/Crochet-ripple-afghan.html

Has anyone else got a hand-me-down they cherish?


Thursday, November 3, 2011

Playing Skirty


Here's my cheeky girl in the skirt I made for her. I've had this material forever and its about time I did something with it. So for Poppy, whom everything has to be pink for at the moment, I designed a skirt with enough length not to be cheeky in a showing your bottom all the time kind of way and short enough to run in, with room enough for karate kicks and doing the splits. Most importantly it was damn easy. I made it within 2 hours and it did not require too much concentration or detail or changing the foot on the sewing machine (which I have no idea how to do) and best of all, dodgy sewing is hidden... hehehe.


Instructions:
(Based on a size 3-4)
Cut one piece of material 30cm in length (the length can be altered to your child's preference) and at least 60cm in width. Cut in half. Pin the two pieces together, top sides facing each other. Sew a seam on the two lengths. Sew 60cm of binding at the bottom. Measure your child's waist and cut a piece of elastic slightly shorter. For a good waist band, make sure the elastic is 2cm in width or more. Sew a rough seam at the top at least 1cm wider than your elestic. Leave a 5cm gap to insert elestic through. Thread the elastic through and pin. Check that this fits the child before sewing together. Next, push the elastic down so that it is pressed up against the stitching. Now fold the band over and sew a neat seam as close as possible below the elastic without sewing the elastic. This creates a tight elasticized waistband without having to tediously thread the elastic through, its also nice and thick. Turn inside out. Now put it on your lucky kid and send them out to play.


Sunday, October 30, 2011

Quickie for the Library

It has been a while since I hit the sewing machine and I've got so many things I want to do... but these things require time which I lack these days. So in a window of opportunity, I jumped on the machine and whizzed up what I planned on being a little girls skirt, which actually turned out to be a library bag (after realising I needed a wider piece of material for a skirt). Nevermind. I learned that I can infact sew whilst breastfeeding and that it is possible to make something decent from scratch in 10 minutes out of scraps. Our trip to the library may be slightly more exciting this week.


You probably don't need instructions for this one but just incase...

Instructions:
Cut two equal rectangles of material (large enough to fit a large book in). Pin rectangles together, print facing in, sewing three sides together. Fold fourth side twice, iron flat and then sew neatly. Attach two equal lengths of bias binding at the top, 6cm from each side of the bag and at least 2cm deep or equal to the hem. Sew a square to secure in place and for extra strength. Turn inside out.

Thursday, October 20, 2011

Rainbow Fish

  We have been reading The Rainbow Fish at home and decided to make some big, cardboard fish for craft.   I used an old cereal box to draw some large fish and the girls coloured them in and cut them out.


The kids used good quality chalk pastels. I found that my two year old loved these because she was able to use her hands to rub and smudge which she loved. We used heaps of bright colours as a base, smudging the chalk to create an even layer and then went over in darker colours with lines and patterns. 


We then sealed the chalk so it would not smudge any more. You can use an artists spray on fixitive or just use hairspray as we did. We cut them out and stuck them on the wall, they could similarly be hung as a mobile.


Wednesday, October 19, 2011

Springtime Mobile

We have been learning about Springtime at home. This craft activity was a great way to celebrate Spring. It also got the kids to go outside and explore, to gather materials in nature as well as paint and construct.


Instructions:
Go for a walk, gather natural materials from outdoors such as flower petals, colourful leaves etc. Cut out a circle in the centre of a paper plate. Cut out two slightly larger circles of clear contact. Paint or decorate the paper plate and then place one circle of contact on the back of the plate so that the sticky side is facing upwards. Place the gathered materials on the contact and cover with the other piece of contact. To finish, punch a hole on one side, tie string through it and hang.

Tuesday, October 18, 2011

Sunshine, Paper and Paint.

Nothing beats a big roll of paper, lots of brightly coloured paint and plenty of sunshine. The girls got out last week in the sunny weather and had a big paint session. We got messy and had lots of fun. 
I really enjoy watching kids paint. Some of us paint with our hearts, some of us paint with our heads. I am so fascinated by the many ways in which they paint. Poppy is precise, focussing on colour mixing and making shapes and pictures. Ruby, on the other hand, is engaged with the medium and its texture, splashing, swirling, rubbing and dipping. I always get inspired in my own art by all the techniques used and the passion and enthusiasm with which it is executed.


Wednesday, September 21, 2011

Birthing and Beautiful Babies

It has been several weeks since my last post but with good reason... we had a baby! Although I cannot claim entire credit for such a beautiful creation, I am proud to say I helped it along the way. Here is our latest family member, Angus.


Wednesday, August 24, 2011

The Art and Joy of Gift Giving

Nothing is more exciting for a child than unwrapping a big present. How much more exciting would it be when the wrapping paper looks like this...


This is a great way to use paintings the kids have made and to get them actively involved in the pleasure of gift giving. The girls decorated the card, painted the wrapping paper and wrapped the gift. We gave her an apron I made and a book that we love to read at home. Happy 2nd birthday Olivia! We hope you enjoyed your gift as much as we enjoyed making it!
Rainy Day Play


Nothing beats little hands kneading warm, home made playdough on a cold, rainy day. Making it can be just as fun as playing with it. Kids getting creative and busy makes mum very happy...


Ingredients:

  • 1/2 cup salt
  • 1 cup plain flour
  • 2 tablespoons cream of tartar
  • 1 cup water
  • 1 tablespoon oil
  • Food colouring
Instructions:
  • Mix ingredients
  • Stir over heat and it congeals
  • Let it cool then play
  • Keep it in the fridge

Friday, August 19, 2011

A Purse for Poppy's Special Things...

Check out this purse I made, designed by none other than 3 year old, Miss Poppy! She asked me yesterday if I could make her an art folio like Mum's and in the process, decided that a purse would be more practical as she has so many special things which she needs to keep in a special place to take with her everywhere. (These special things include a battery-AA, a hairclip, the top of of a broken whisk, a cardboard pony) Ah, the life of a 3 year old!!!


So it had to have a short handle, a flap, a button, and it had to be pink. Poppy helped me design the bag, draw the pattern, picked out the material and supervised all the assembling and sewing of the bag. She ran a tight schedule too. It may have taken 3 hours over 2 days and the materials may have cost $3.


Tuesday, August 2, 2011

More Bunny Rugs for Buster


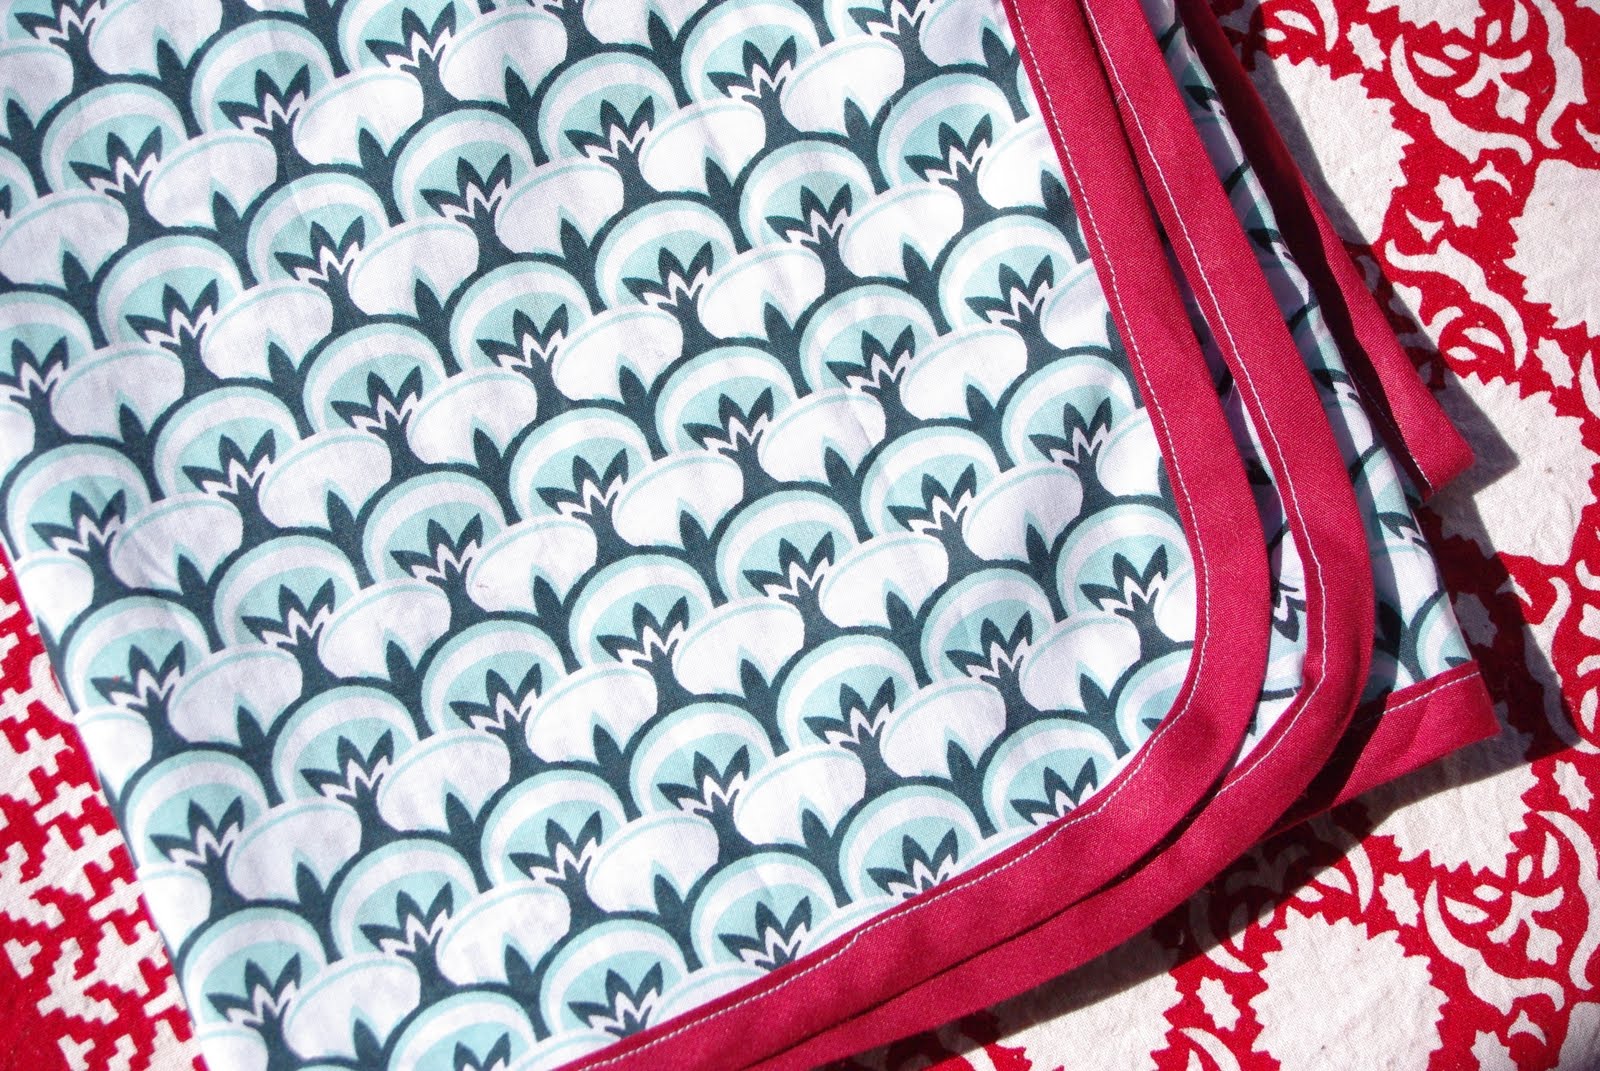
I have been making these bunny rugs for a baby boy that we are expecting, more cute prints I found at Lincraft this time, half price so a very cost effective project after all and sewing of straight lines, vastly improving. The girls are enjoying them very much. Ruby has pinched them from the baby's room many times, they make great covers for potted plants flags for bike handles and are useful for hiding cheeky little 1-year-olds under, as I have discovered, so I don't know if they'll get to the baby or not...


Monday, July 25, 2011

Prettying-up the Pram

Like all kids prams, they have a short life expectancy. Prams get a lot of love in my home (as well as replacing) so when the material ripped in the most recent pram, after a rather large but very cute doll squished herself into its seat, I decided to sew up a replacement hammock myself... 

I used a green, flowery, cotton material and purple binding for the edging, loops and seat belt and the original plastic buckle. It may have taken a little more effort than buying another cheapo, but I enjoyed the challenge and the girls are enjoying their "new" pusher. (Let's hope it goes the distance).


and in the end, anything made with love, to be loved, is definitely well worth the effort...

Friday, July 22, 2011

No Boring Bunny Rugs

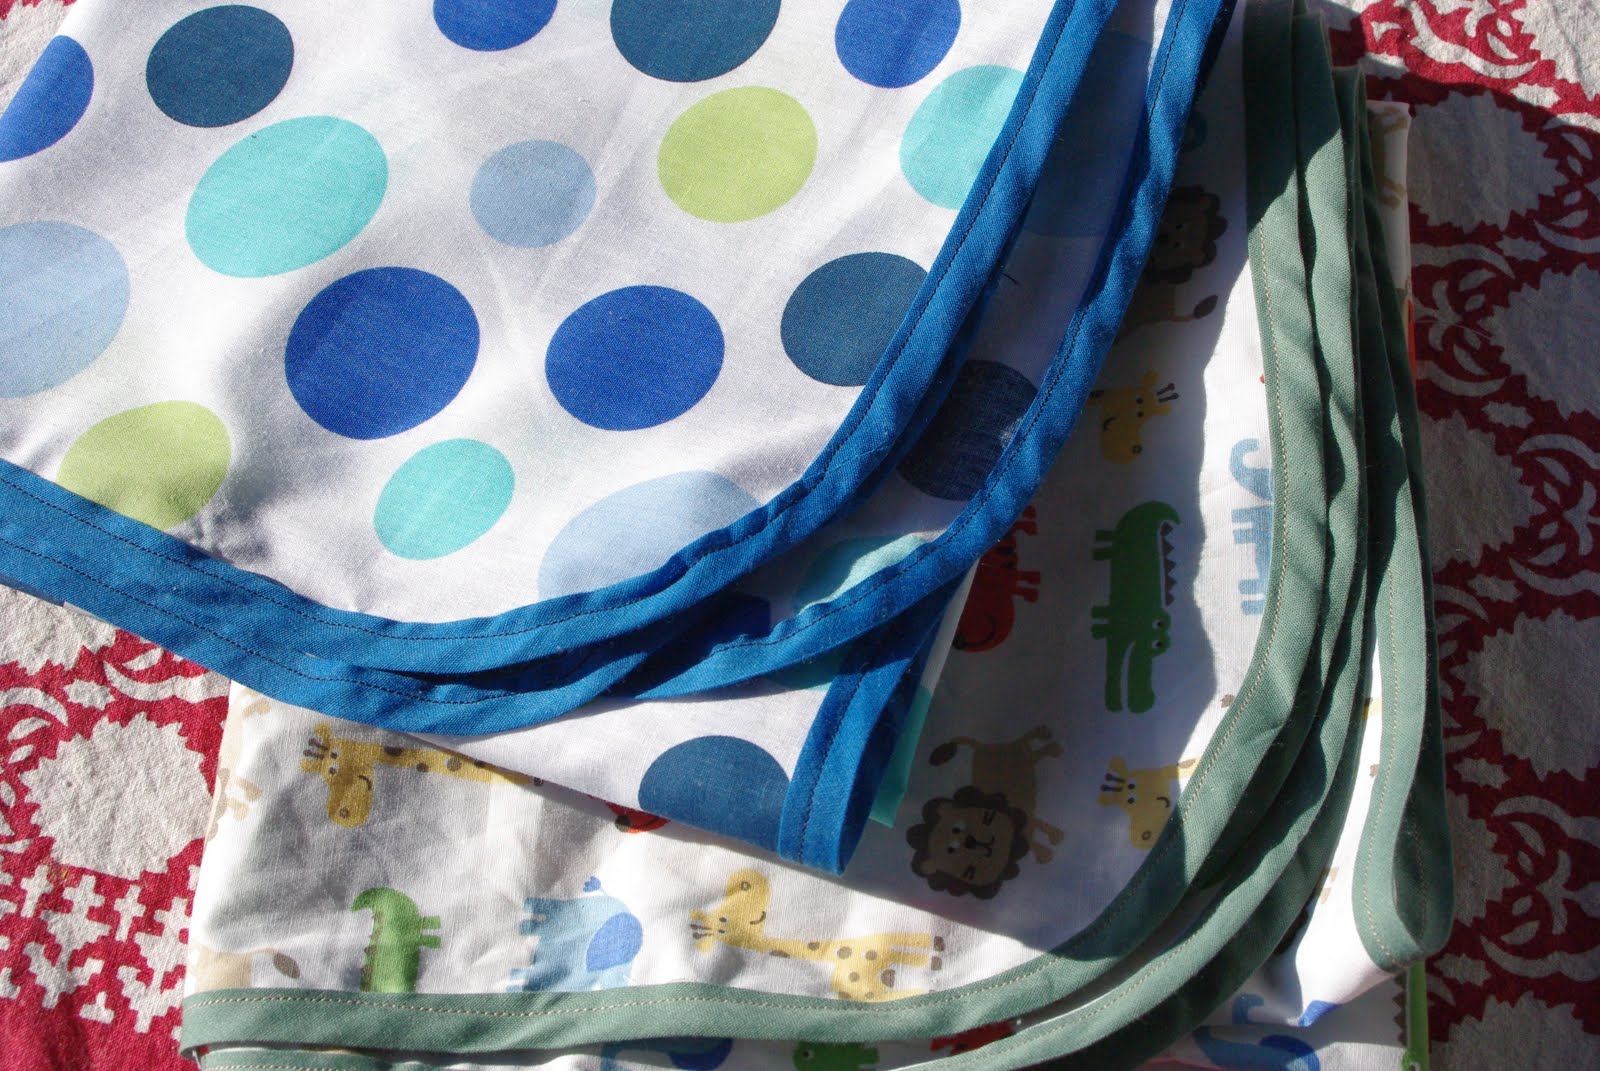
I love wrapping my babies up in cute blankies and with a baby boy on the way, I can't wrap him in bright pink bunny wraps can I? So I'm making my own.


Instructions:
This is my first attempt. A nice lightweight piece of cotton with a cute print, about 1m x 1m. Round the edges, sew 4m binding around the edges. Cost $8.50. Time: 20 mins. Quick and easy for sure.... I think if you had matching coloured cottons for the seem and the talent for sewing straight lines, your outcome would be even better... haha!

Thursday, July 21, 2011

Baby Bunting


Here's my baby playing with the bunting we just sewed. This was inspired by my craft group friends, and was just what I needed to push me back into my crafty mode. Meaning: it's super easy with great results. Anyone can make it.

Instructions:
The way I made these ones was I chose 3 different patterned materials to complement each other, traced a triangle with two equal sides onto tracing paper (to ensure the triangle is even, fold in half), allow 1 cm seem allowance when cutting out. I cut out around 24 triangles (12 lots of triangles folded over right side facing in). Sew 2 bottom sides, turn right side out, space evenly along a 3 m piece of binding, fold over and sew. The end. Should take an hour give or take.

These flags come in handy for decorating a room. I rather like to use them for decorations at a kids birthday, you can reuse them year after year and they look great hanging from a tree at the park to define your "party space". hehe.

Tuesday, July 5, 2011

In the Bag

When all else fails make a bag.

Solitude for gratitude

So nice to get away and have some time to myself and just think, and drink coffee, and watch and draw...


I have so much to be grateful for... hot coffee, good views of the beautiful bay, raspberries just to mention a few things... and at home, fast asleep, my beautiful girls and my loving and generous husband. Ohhh... break out the tissues. Inspiration drought officially broken. 

Sunday, July 3, 2011

Time to Get Inspired

Lately, I have been feeling really uncrafty... boohoo! Every week I have been rocking up to craft nights with empty hands and 0 passion. For whatever reason...(I'm blaming pregnancy), I am going to put my ass into gear. So first thing to do is get inspired. Here it goes.